Monday, April 9, 2012

Do You Know The Muffin Man?

Hello everyone!

I hope you had a wonderful Easter and a great weekend.

I have a lot of awesome recipes to share with you this week and I'm excited to kick it off with this one.

I love muffins but some can be upwards of 400 calories. Not cool, muffin industry. Not. Cool.

I wanted a waistline-friendly breakfast with big taste and it had to be gluten-free. That's pretty much impossible. So I found a recipe that had 2 of the 3 requirements. Then I took matters into my own hands.


Gorgeousness.

These were so easy to put together. I know I say that about every recipe, but these truly are simple to whip up.

Pinky promise!

First take some oats and give them a few whirls in the food processor. Then soak your oats in some unsweetened almond milk for 30 minutes. 


While the oats are gettin' their soak on, mix up brown sugar, honey, unsweetened applesauce, egg whites, vanilla and oil. 


In another bowl, add flour, xantham gum, baking powder, baking soda and salt. Mix together.

When the oats are done, add them to your sugar mixture and stir together. Then slowly add the flour mixture and combine. Next, you'll fold in some blueberries. 


Using the ice cream scoop trick, fill your lined muffin tins.


Bake at 400 degrees for 22 minutes and they come out looking like this:


Oatmeal Blueberry Muffins

Adapted from Skinny Taste

  • 1 1/2 cup oats
  • 1 cup unsweetened almond milk
  • 1/2 cup brown sugar
  • 2 tbsp. honey
  • 1/2 cup unsweetened applesauce
  • 2 egg whites
  • 1 tbsp. oil
  • 1 tsp. vanilla
  • 1/2 Bob's Red Mill Gluten-Free All-Purpose Flour
  • 1/4 + 1/8 tsp. xantham gum
  • 1 tsp. baking powder
  • 1/2 tsp. baking soda
  • 1/2 tsp. salt
  • 6 oz. container of fresh blueberries
1. Preheat oven to 400 degrees.

2. Process oats and soak in almond milk for 30 minutes.

3. Combine brown sugar, honey, unsweetened applesauce, egg whites, oil and vanilla in a bowl.

4. In a separate bowl, combine flour, xantham gum, baking powder, baking soda and salt.

5. When oats have finished soaking, add them to the sugar mixture and stir. Slowly add in flour mixture.

6. Fold in blueberries and fill lined muffin tin.

7. Bake for 22 minutes.

***

If you are not gluten-free, don't fret! Just replace with gluten-free flour with normal flour and omit the xantham gum. 

These muffins are really good and make a great breakfast. Personally, I think they taste best the next day! 


Because of the applesauce, they are so moist. It's almost like a bowl of oatmeal to go!


I'm not trying to be bossy or anything, but you should probably head to the store and pick up everything to make these. Now.

I mean, if you want.

Enjoy!

Kaci

Friday, April 6, 2012

Weekly Recap + Major Fail

Well, it's Good Friday and it definitely has been a good Friday (har har).

I've spent the day hanging out with my mom, playing tennis, eating at Freebirds & doing a little shopping.

I hope your Friday is going well!

1st try: Strawberry Arnold Palmer Slush. Recipe coming soon!


Here's a recap of the week, just in case you missed any mouth-watering recipes.

On Sunday, I made lemon muddy buddies which seems to be a pretty big hit here at AIC.


Monday was a wonderful burrito bowl with 2 bonus recipes! Can't beat that!


Tuesday, I posted a banana bread cupcakes with cream cheese frosting recipe.
*These are not gluten-free.


The best sweet tea made its appearance on Wednesday. I'm currently sipping on this. Yum.


Yesterday, I gave you guys an awesome recipe for pesto pasta salad. It's a great side dish!


While there is not recipe for today, I do want to share a story with you.

In a previous post, I mentioned that my dad basically would not eat Quinoa because he couldn't say it. And obviously, "if you can't pronounce it, you shouldn't eat it."

Ever since he said that, I made it my personal mission to make Quinoa for my dad. I had these visions of me serving Quinoa to him and he becoming smitten with one bite. He would dance around singing the praises of Quinoa and for once I'd be right and he'd be wrong.

So, I had an idea.

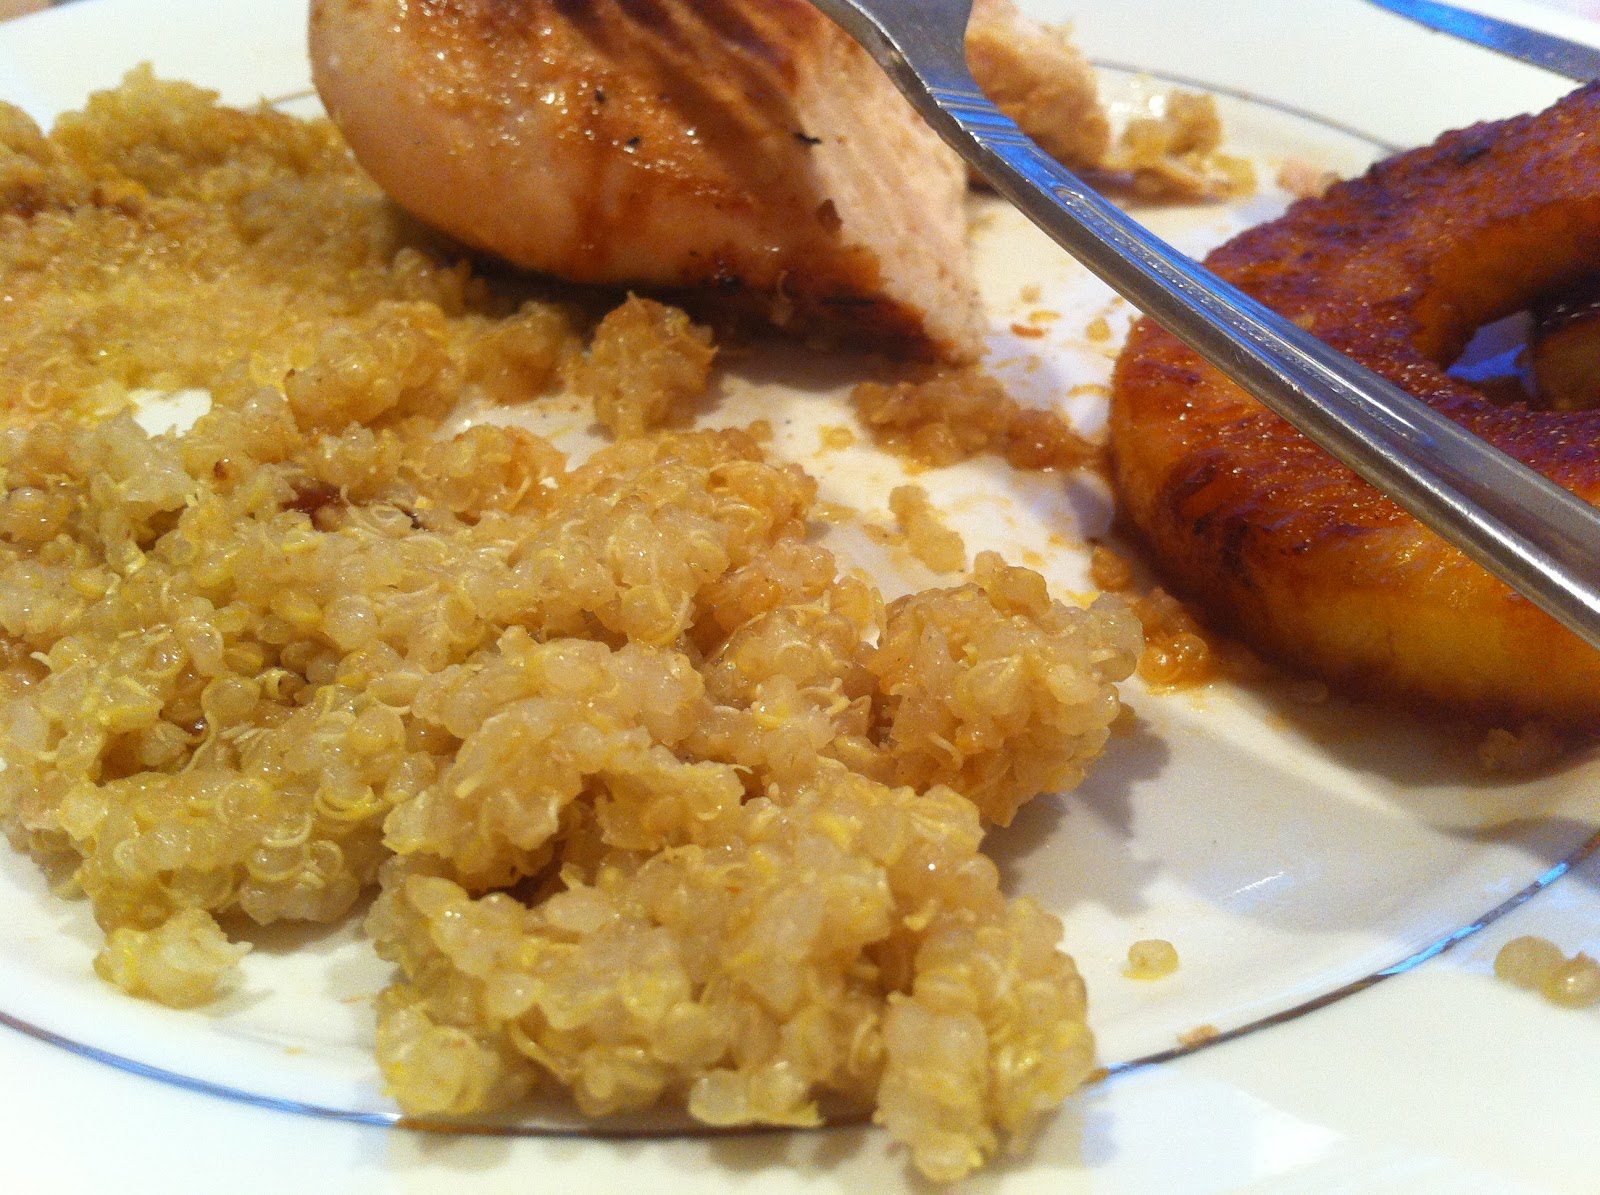
Key West Chicken with Grilled Pineapple on a bed of Quinoa.

I marinated and grilled the chicken, cut the fresh pineapple and grilled it, cooked the Quinoa and prepared the plate.


Oh yeah. My dad is about to eat his words.


Wrong. 

It was terrible. The marinade was terrible. The Quinoa was bitter and mushy. After my dad's look of horror left his face, the look of "I told you so" made an appearance. 


There was nothing I could do for it. Nope. I couldn't even eat it.


It was bad. I then made Lemon Muddy Buddies to redeem myself and regain my family's love.

Here's to hoping I won't have any fails this week!


Happy Easter!


Kaci


Thursday, April 5, 2012

Grillin' Like A Villian

In a previous post, I talked about my love for football. Even during the off season, it's not unusual to find me watching the NFL Network, waiting for any updates on the Green Bay Packers, or any team in general. 

Weird, I know. Whatever.

Even though I miss football, I love the warmer weather that spring brings. It's not unbearably hot (I'm looking at you Oklahoma summer) and the evenings are always so nice.

And that is why I love grilling and spring food. It's so fresh and delicious.

This recipe I'm about to share with you is a perfect addition to any grilled meat. It's easy to pull together and tastes delicious.

Plus, it's just so pretty. 


All you have to do is cook up some pasta, pour it in a colander and let it cool.


While it's cooking and cooling, make the pesto. You can use store bought pesto, but where is the fun in that? I followed this recipe for the pesto.


Then, I drained and chopped up a jar of roasted red peppers.


While I was chopping up the peppers, I drained some black olives in a colander


Then I mixed the cool pasta, red peppers and olives together in a large bowl.

In a smaller bowl, I took 1/3 cup of the pesto and 1/3 cup of Newman's Own Olive Oil & Vinegar dressing and whisked it together.


Next I poured the pesto and dressing mixture over my pasta and stirred it all together.


At this point, I went ahead and took a few bites. It needed more salt, so I sprinkled some kosher salt. I also added a few more spoonfuls of pesto. You don't have to. I just love pesto.

Next, put in in a pretty bowl, cover and in saran wrap and pop it in the refrigerator for a few hours.

Right before you serve it, sprinkle some Parmesan cheese on top.


Pesto Pasta Salad

Adapted from Kalyn's Kitchen

  • 12 oz. Quinoa pasta
  • 2 cans of sliced black olives
  • 1 jar of roasted red peppers
  • 1/3 cup pesto
  • 1/3 cup Newman's Own Olive Oil & Vinegar Dressing
  • Parmesan cheese
1. Cook pasta according to package. Drain and let cool

2. While pasta is cooking, make pesto

2. Drain sliced black olives

3. Drain and chop up roasted red peppers

4. Add black olives and red peppers to cooled pasta. Mix

5. In a separate bowl, whisk together pesto and dressing

6. Pour pesto mix over pasta and stir. Adjust salt and pesto to taste

7. Cover and store in the refrigerator for 1 to 3 hours.

8. Right before serving, sprinkle with Parmesan cheese.


***
We had this pasta salad with some grilled pork chops. We really enjoyed it. However, I made the salad too early so it sat in the refrigerator for 6 hours. That was a little too long, so I would definitely keep it around 1-3 hours. 


This would be good with grilled steak, chicken, fish, etc. It was really light and fresh.


You can also use whatever pasta you'd like. It doesn't have to be gluten-free.


Another great thing about this pasta is that you can put whatever you'd like in it. Tomatoes would be a great addition. My dad said he would like green olives in it. Whatever you want to add would probably be really good.


Enjoy!

Kaci

Wednesday, April 4, 2012

How Sweet It Is!

A few weeks ago, I spent some time in Boise, Idaho. It's a beautiful city and I am praying that everything falls into place so I can call Boise home. 

The only thing that Boise doesn't have is really good sweet tea. I think I've been spoiled living in the south. You can go anywhere and get some awesome sweet tea. 

I decided that I better come up with some kind of method to get good quality sweet tea no matter where I live. So, I took my mom's iced tea maker and did some experimenting. 

In my opinion, this stuff is better than Red Diamond and McAlister's. But, I may be biased. Who knows.


First, pour in the specified amount of water. On the pitcher, there is a line that is marked "water." If you don't have an iced tea maker, I don't have a substitute. Yet. I will work on a recipe for sweet tea using another method.


Then fill the pitcher with ice, up to the "ice" line.


Next, pour between 3/4 cup - 1 cup sugar over the ice. This is the amount that works for me, but you might need more or less.


Then in the top attachment, place 4 iced tea bags. I use Luzianne Decaffeinated Tea. I'm pretty sure I got it at Sam's Club.


Put the lid on and press the on button. When the light goes off, take a glass of cold water and pour over the tea bags.


Squeeze out the excess water from the tea bags. Now you can throw the tea bags away.


Once all the water has drained through the top attachment, stir really well to dissolve the sugar.


Southern-Style Sweet Tea

  • 4 Luzianne Decaffeinated Iced Tea Bags
  • 3/4 cup - 1 cup sugar
* I also use this method to make raspberry sweet tea. To do this, all you do is add 3 raspberry flavored tea bags to the 4 Iced Tea Bags.

***


This is the perfect warm weather treat.  I definitely recommend bringing it to every single BBQ/party/get together you attend this spring and summer.

Like I said, if you would like to know how to make sweet tea and you do not have an iced tea maker, then leave a comment below letting me know. I would love to help out!


Enjoy!

Kaci


Tuesday, April 3, 2012

When Life Gives You Bad Bananas...

You know those days where something really bad happens and your day is ruined and all you want to do is crawl in your bed and sleep for a week straight? 

Then someone close to you tells you to look for the good in the situation and honestly, it kind of ticks you off, even though you know they are right.

Know what I'm talking about? 

That's kind of like the recipe that I'm sharing today. 

Okay, not really. 

Anyways, 


Enter the bad bananas.


Poor bananas. They no longer have a purpose. They are brown and squishy. Nobody wants them. Except you.

You want them.

At least you will by the time you're finished reading this.

Mash up 3 of your abandoned bananas like so...


Toss them into a mixture of sugar, margarine and eggs.


It will be kind of clumpy and that's okay. Throw in some flour, vanilla, baking soda and salt.
Mix.


Once it's all mixed, pour batter into cupcake tins.

*BAKING TIP: Use an ice cream scoop to put batter into tins. It's the perfect amount and it's so easy!


Bake until they are a gorgeous golden brown.


The bananas in the background? Total coincidence. Promise. 

While your reject bananas turn into golden brown deliciousness, make some cream cheese frosting y'all.*
*something as decadent as cream cheese frosting deserves to be made while adopting a Paula Deen accent. 

Throw in a soft cream cheese and a soft stick-a-butta y'all. 


4 cups of powdered sugar (!!!) and a little bit of vanilla later, you have the most luscious cream cheese frosting this side of the Mississippi, y'all.


Wow. I just annoyed myself. 

I apologize. 

Moving on.

When the golden brown babies are cool, spread the cream cheese goodness on the top.


I actually cannot eat these anymore because of the flour, but my mom has been making these all my life, so I can tell you that these are outstanding. They are easily in my top 5 of desserts ever consumed.

And...just because I can't eat the bread part, doesn't mean I can't partake in the frosting. Not saying that I did, though.

Banana Bread Cupcakes w/ Cream Cheese Frosting
*Yields 24 cupcakes
  • 1/2 cup margarine, soft
  • 2 cups sugar
  • 3 eggs
  • 3 bananas, mashed
  • 1 tsp. vanilla
  • 2 cups flour
  • 1 tsp. baking soda
  • 1 pinch salt
For the frosting:
  • 1/2 cup butter, soft
  • 1 - 8oz. cream cheese, soft
  • 4 cups powdered sugar
  • 2 tsp. vanilla
1. Mix bar ingredients and scoop into lined muffin tin.

2. Bake at 350 degrees for 25 minutes, or until golden brown and the toothpick comes out clean.

3. While baking, mix up the frosting ingredients.

4. Allow cakes to cool completely and frost. Store in airtight container.

***


Enjoy!

Kaci